In the ever-evolving world of Wuthering Waves, the thrill of combat is matched only by the subtle cerebral pleasures scattered across its landscape. Among these, the Encryption Block puzzles stand as cryptic relics of a bygone era, requiring not the might of a Resonator but the patience of an archaeologist reassembling a shattered celestial map. One such puzzle, located near the Fallen Grave in the Huanglong-Whining Axe's Mire, has confounded many a traveler. Its web of rune-inscribed tiles and elusive glowing fragments resembles a dormant sky clock waiting to be realigned. This guide describes how to locate all five key pieces and restore the pattern, calling forth a rewarding Advanced Supply Chest.
The Nature of the Puzzle
Unlike the dynamic, fast-paced battles that define much of Wuthering Waves, the Encryption Block puzzle at Fallen Grave invites a slower, more deliberate interaction. The challenge is not merely about finding missing components but about understanding their language. Each piece bears a number of spikes — a visual signature indicating how many adjacent tiles it will illuminate. The goal is to place all five fragments onto the stone board so that every tile glows with renewed energy. This is not a brute-force task; it is akin to tuning an ancient lyre where each string must vibrate in harmony, or else silence endures.

Scattered like stardust after a collapsed constellation, the pieces refuse to be carried far. Lifting one with the Levitator and setting it down anywhere other than the board causes it to snap back to its original position, a behavior that underscores the puzzle’s ethereal logic. Thus, gathering the pieces is as much a reconnaissance mission as it is a setup for the solution. First, one must map the remnants upon the ruined ground, then slowly weave them into the final picture.
Locating the Five Key Pieces
All five fragments lie within walking distance of the Fallen Grave beacon. Approaching from the beacon entrance, a careful observer notes their hiding spots:
-
Two pieces on either side of the board: One near the right edge and one near the left, sitting like silent sentinels.
-
One piece up the stairs to the right: This two-spiked shard is perched on elevated stonework, almost blending into the debris.
-
One piece up the stairs to the left: Another double-spiked key, tucked in a shadowed alcove.
-
One piece below the stairs to the left: A single-spiked fragment, half-concealed by overgrowth.
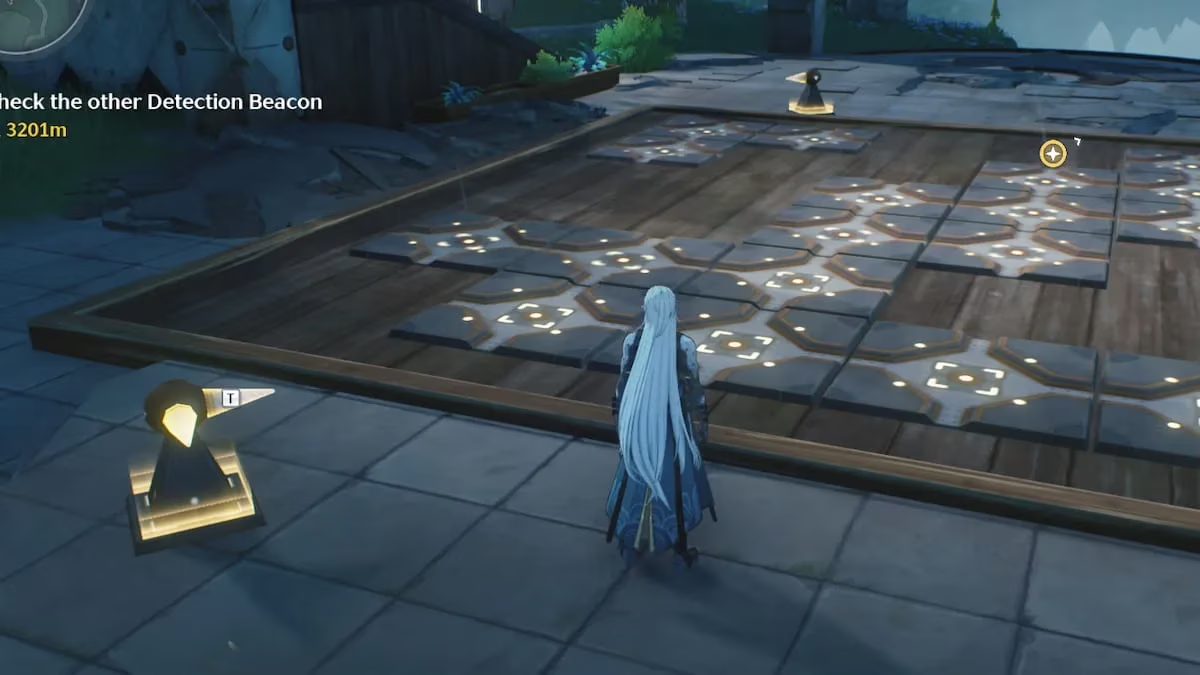
Once the explorer has mentally catalogued each fragment’s nest, the true arrangement begins. The board is a mosaic of L-shaped patterns and straight lines, a topography of intent that demands precise orientation.
Step-by-Step Alignment: Lighting the Tiles
The process of solving the Fallen Grave Encryption Block puzzle can be described as a series of gentle realignments, each one a deliberate stroke in a unfolding ritual.
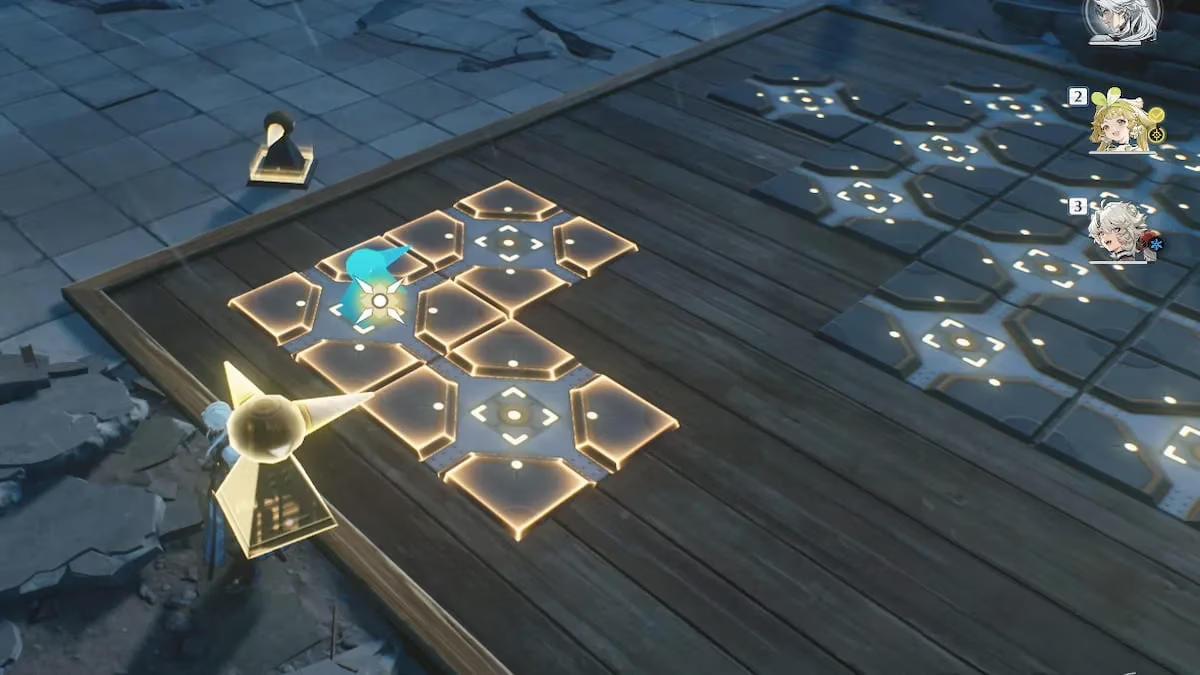
Step 1: The First L-Shape
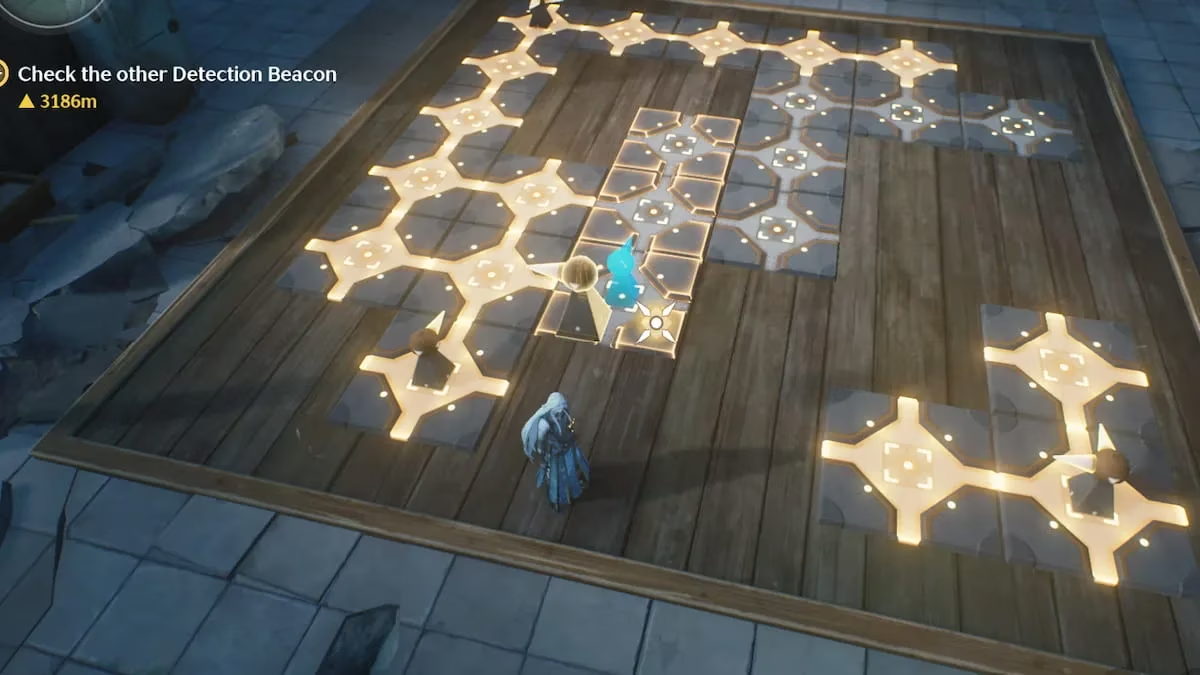
From the beacon entrance, walk across the board and pick up the two-spiked piece that lies on the near side. Carry it over to the cluster of tiles forming a distinct L-shape near the center-right. Rotate the fragment so that both spikes mirror the direction of the tiles — one pointing along the arm, the other along its base. Place it onto the middle tile where the two arms meet. As it clicks into place, a soft hum confirms that the initial sequence has been accepted.
Step 2: The Far Corner L
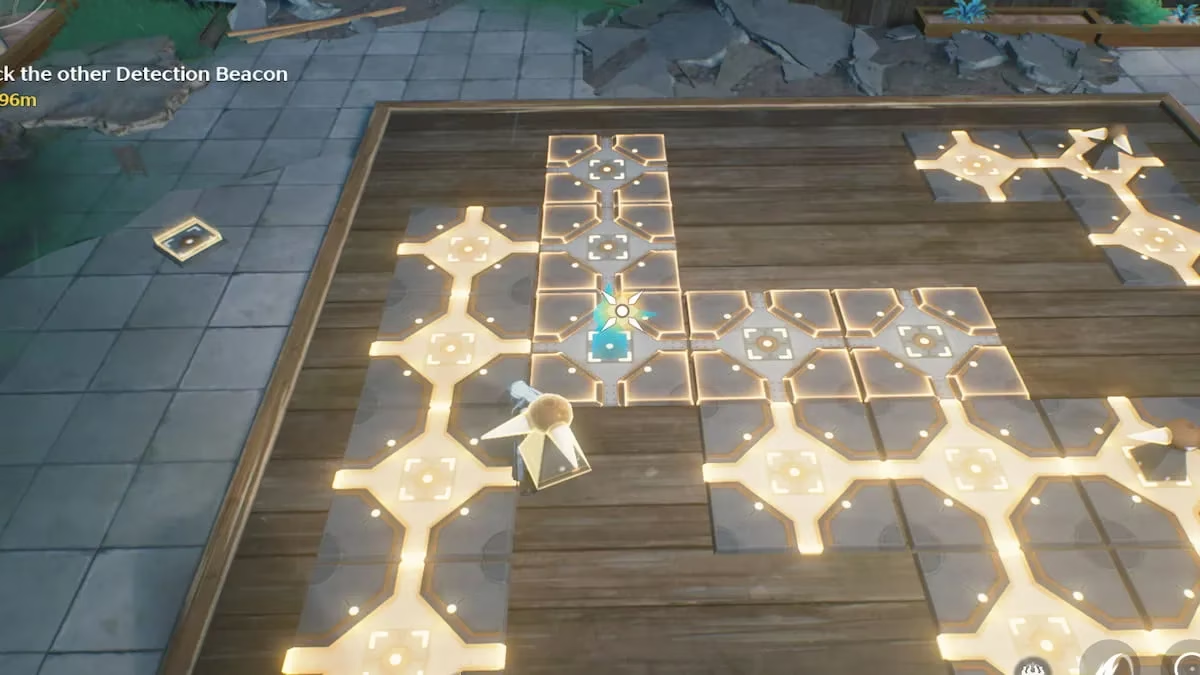
Next, ascend the stairs to the right of the entrance and retrieve the second two-spiked fragment. Carry it all the way to the board’s far left corner, where another L-shaped tile set waits. Rotate the piece so its spikes align with the two legs of the L, then set it down on the corner tile. This action feels like docking a final module to a space station — a satisfying linkage that multiplies the lit area.
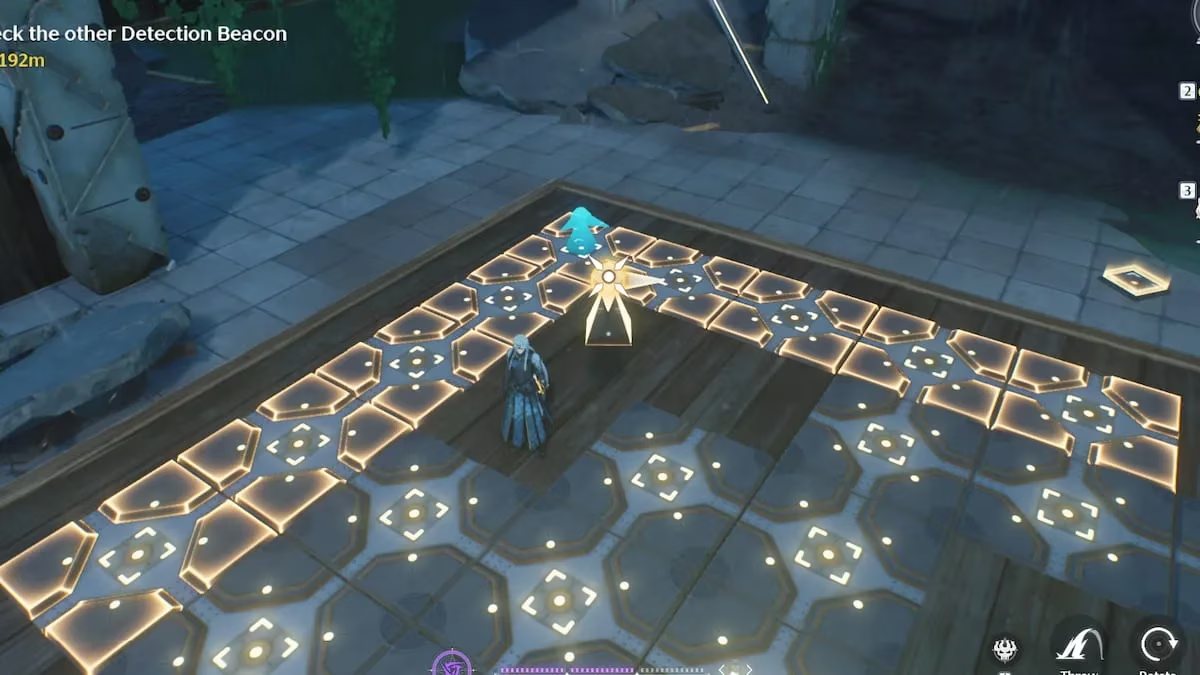
Step 3: The First Single Line
Shift attention to the left side of the entrance, descending to grab the single-spiked fragment hidden beneath the staircase. To the right of the large L just illuminated, there is a short line of three tiles. Place this piece on the third tile down (the one farthest from the L) and rotate its spike to point upward, toward the other tiles. The line now glows, bridging two illuminated clusters like a dash of lightning across a storm cloud.
Step 4: The Second Single Line
Directly adjacent, another row of three tiles is staggered beside the first. On the board’s bottom right corner rests another single-spiked fragment. Lift it and position it on the third tile down (again the farthest from the already-lit zone), spike pointing upward. This mirrors the previous step and joins the two glowing threads into a small grid.
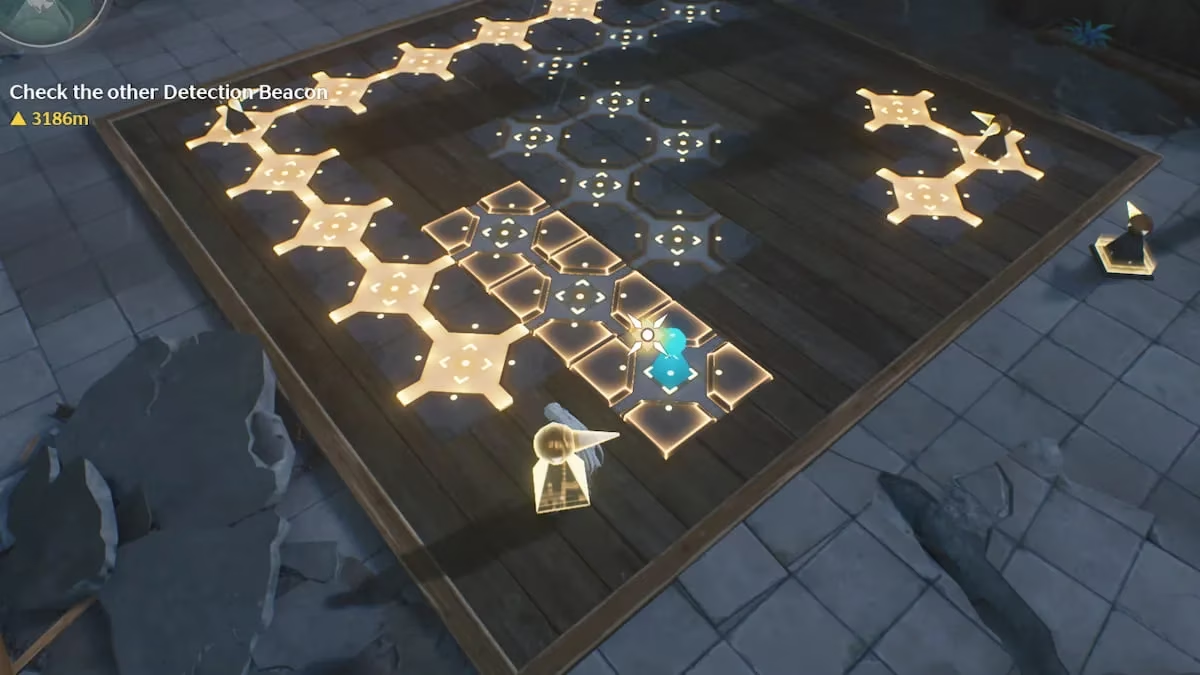
Step 5: The Final L and Completion
Only one small L-shaped gap remains unlit. Climb the stairs to the left of the entrance and collect the last two-spiked piece. Carry it to the top left corner of that final L. Rotate it so the spikes point along both directions of the shape, then place it down. Instantly, all tiles flare to life — a brief, silent crescendo like a forgotten lumen clock suddenly keeping time again.
Rewards and Reflection
With the pattern restored, an Advanced Supply Chest materializes behind the puzzle board, a spectral gift for those who read the ruins correctly. The contents typically include Union EXP, various crafting and upgrade materials, Astrite — the premium currency that whispers of future convening — and sometimes a fragment of lore. For the time invested, the spoils are generous, making this mental detour well worthwhile amid the chaos of exploration.
The Fallen Grave Encryption Block puzzle embodies the dual soul of Wuthering Waves: a world where every ruin may be a fallen star chart, every scattered shard a forgotten note in a planetary melody. Solving it is not just about claiming treasure, but about listening — temporarily — to a silence older than the Lament.